 This site is the personal blog and project repository of George Farris.
Laser engraving on a CR-10 3d printer.
Posted on: March 28, 2019, in 3D Printer, All, Laser
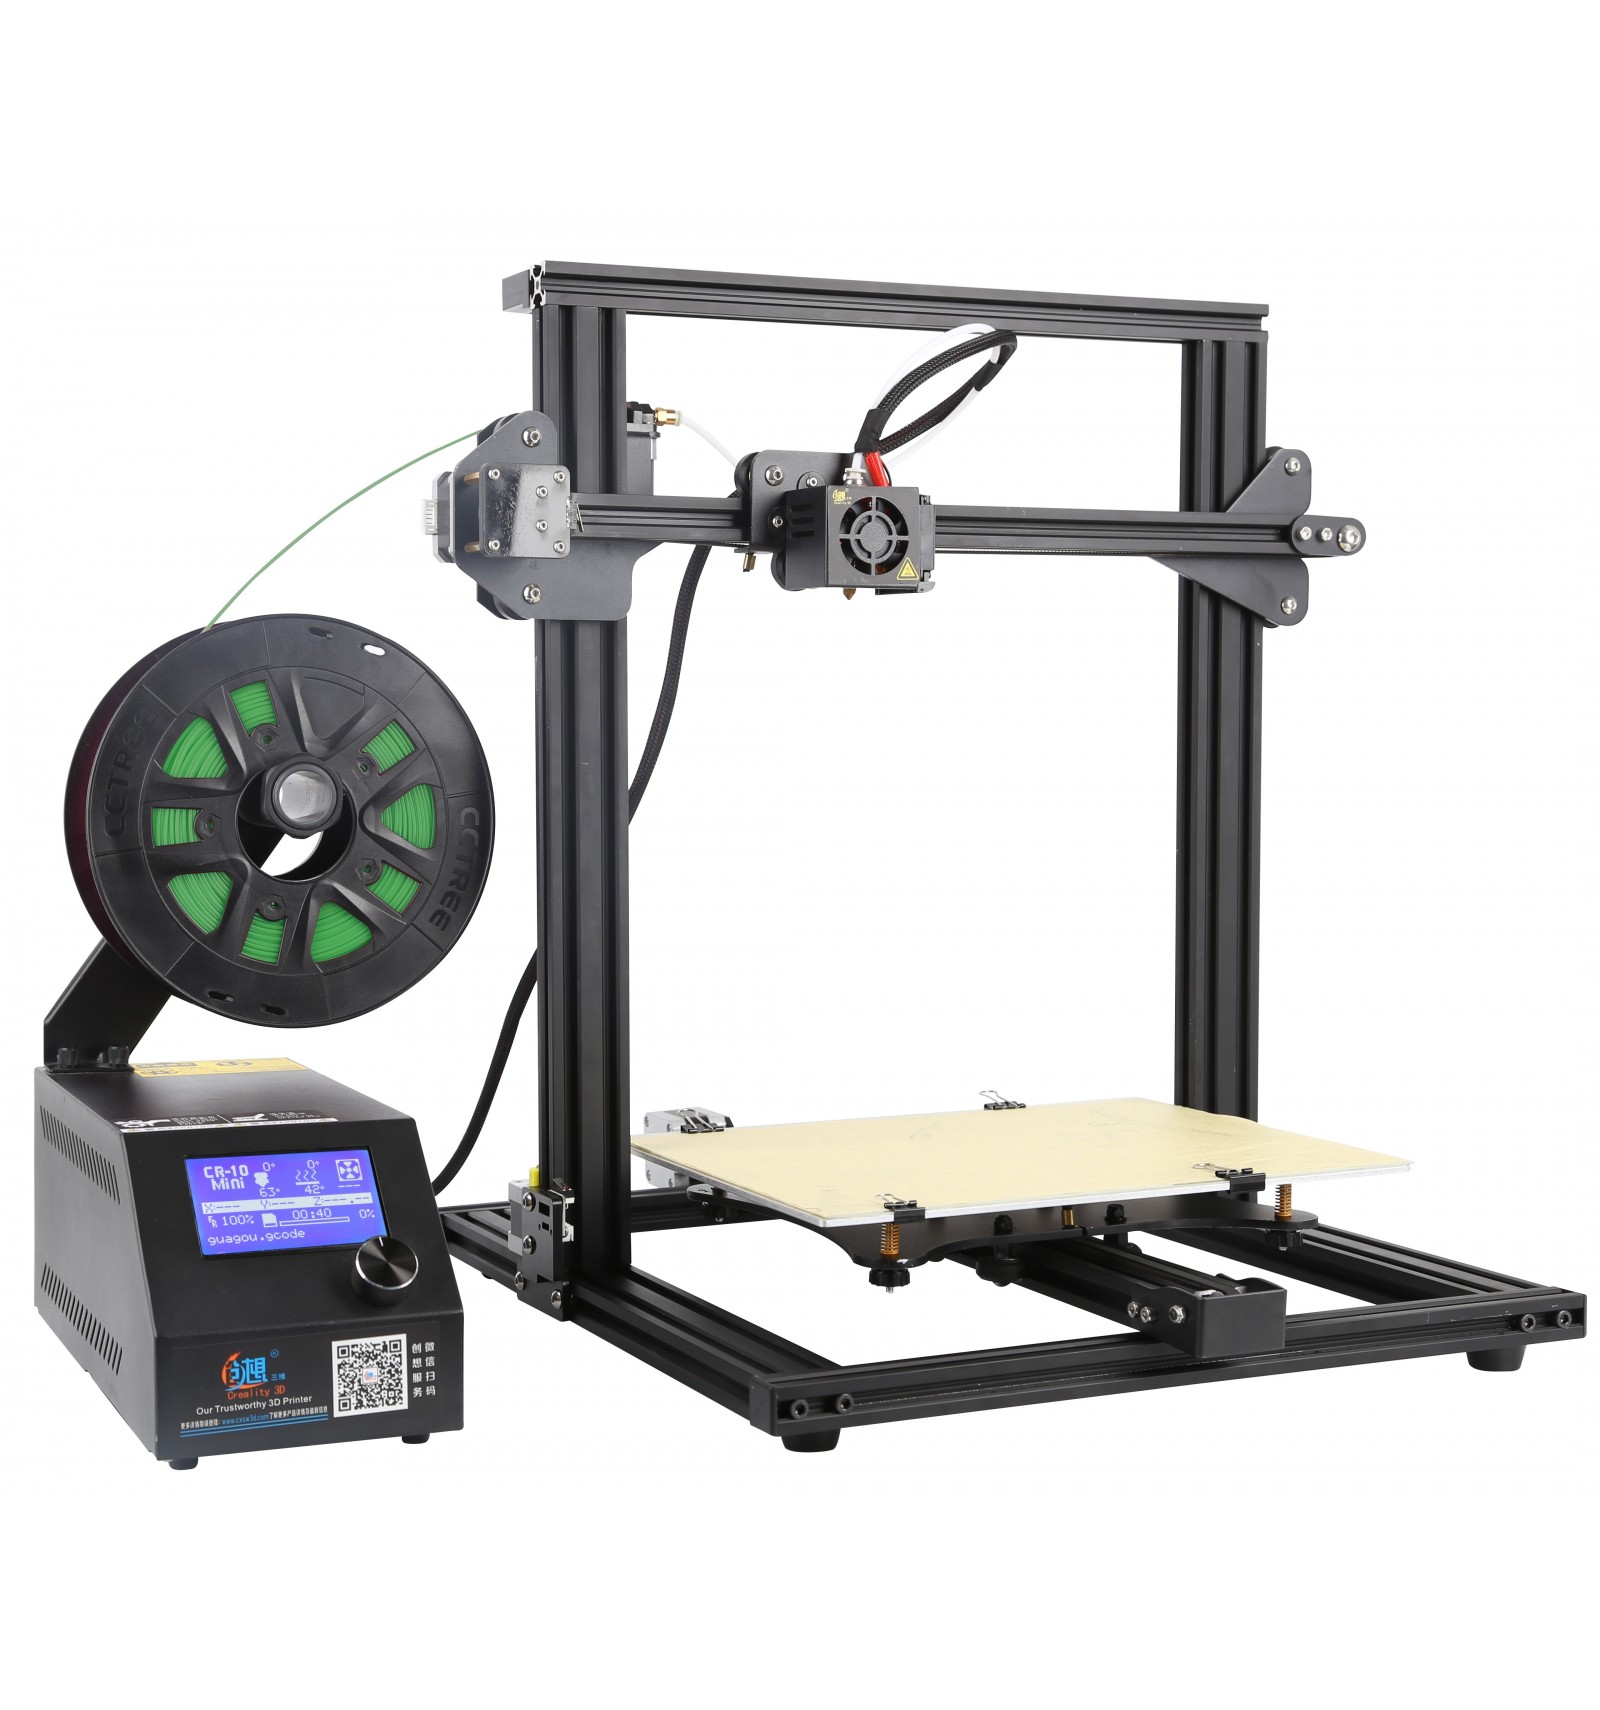
CR-10 3D Printer
A while back I broke down and purchased a 3D printer, I chose the Creality CR-10 Mini. It's bascially the same as a regular CR-10 but not quite as tall and the bed is slightly smaller.
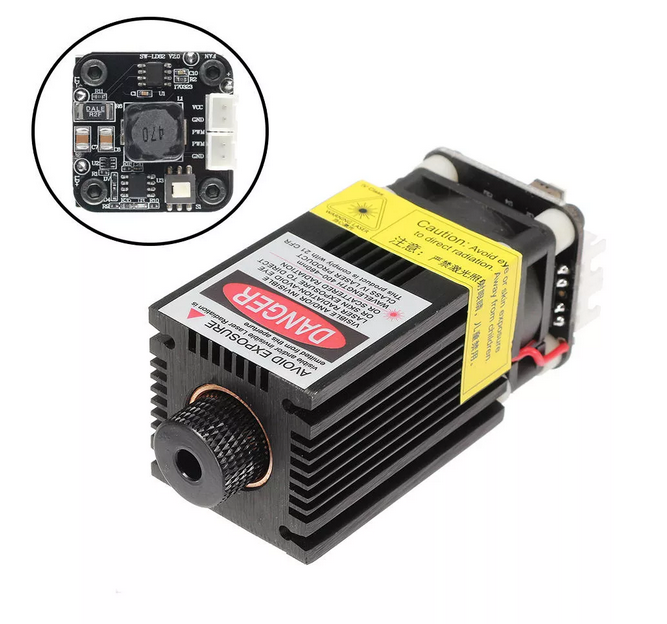
2300mW, 445nm laser
I also purchased a 445nm blue laser module from Banggood to engrave and cut. It is effective in cutting such things as paper, acrylic, cardboard, cloth, plastic and wood up to about 3mm. It will engrave a wide variety of material.
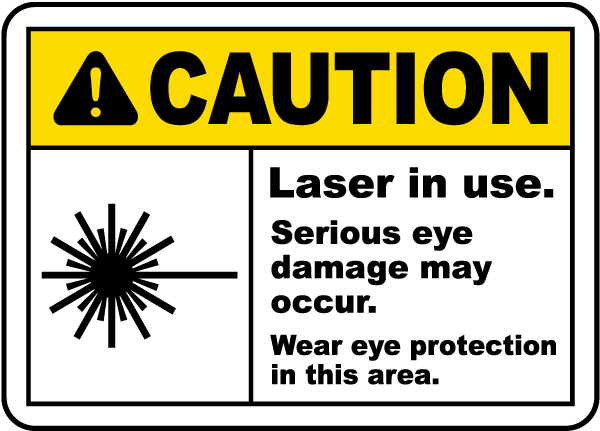
Caution vision damage possible.
Please use the appropriate glasses to protect your eyes. Make sure they are rated for 445nm wavelength. This laser is seriously powerful and can blind you in an instance.
